Written Meditation
The Bullet Journal Guide
What is bullet journaling?
Bullet journaling is a new way of life. New way of organizing and putting all your thoughts and tasks into one place. Think of it as a next-level diary for not only writing but also drawing.
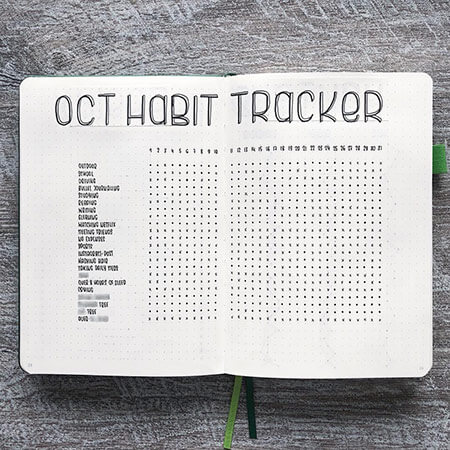
Instead of blank or lined pages, a bullet journal (or BuJo, for short) contains sections to log daily to-dos, keep a monthly or weekly calendar, jot down notes, track both physiological and mental health, and record both short- and long-term goals.
Where do I start?
Here is the hard part: a bullet journal is not someting you buy pre-templated. Instead, you purchase a dotted journal and you can create whatever you want. Something unique to your goals, and a layout that you like.
The process is a fun and creative one. Besides some of the main elements such as an index and a calender, the rest of the contents of your journal is entirely up to you.
In the next section, we are going to give you step-by-step instructions on how you can start your bullet journal today!
How to Bullet Journal
All you really need is a dotted journal and a pen. That's it. You can get all fancy with the brush pens, stamps, and stickers later. For the writing utensil, choose something you love. We highly recommend Micron pens because of the fine, consistent line quality.
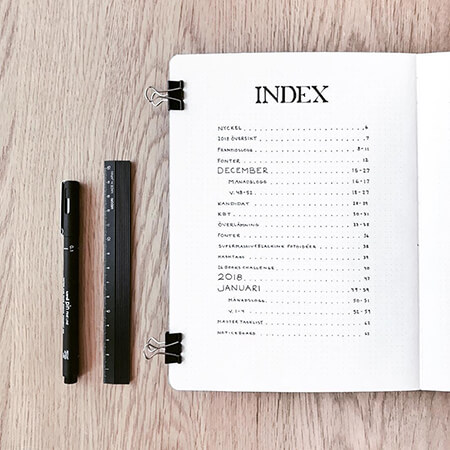
The Index page is the backbone of your Bullet Journal system. This will be the first thing you'll set up in your new Bullet Journal. Essentially, the index is a list of the names of your pages and the corresponding page. Also, you'll want to add a legend in your Index page to show what you'll use for your signifiers. For example, a box for tasks or to-do list gn-items, a triangle for appointments, and right-facing arrow for "migrate" your task.
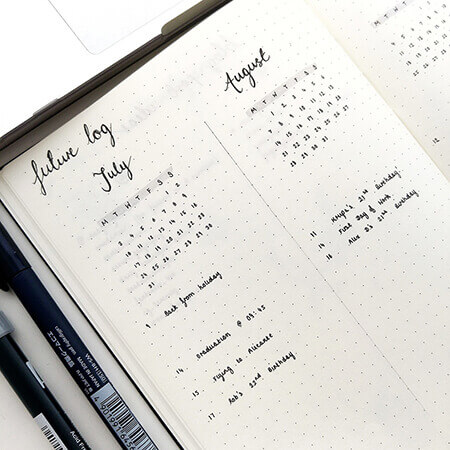
The Future Log is a collection of all the events that are coming up in the future. Use the Future Log to record all your upcoming holidays, birthdays, vacations, or other special events. This is a reference that you will refer back to when you are creating your Monthly and Daily Logs. Here, you will have to divde the pages into the number of months you need. For example, in a year we have 12 months. In a page, divide it evenly to 6 sections for the first half of the year and the next page into 6 sections again for the second half of the year. Remember, these aren’t tasks or to-dos, but significant events, important deadlines, or other dates to remember.
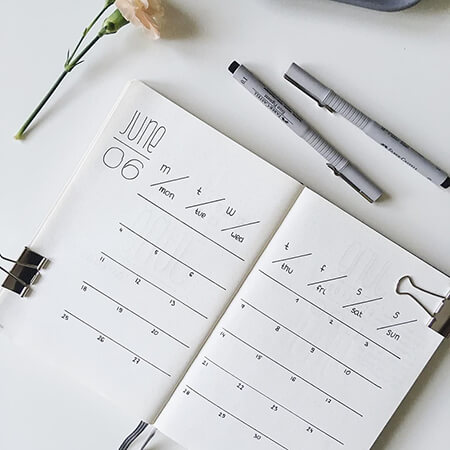
The Monthly Log is a page or two spread that helps you organize your month. On a fresh page, write the month across, the page number, and add it to your index. A simple way to layout your Monthly Log is to write the dates (e.g.1-31) down the side of the page, one per line. We suggest to add the first letter on the week next to each number (e.g. M1, 2T, 3W). Write down this month's appointments, meetings, and events into your Monthly Log. If you like, add a month's task list off to the side for extra organization!
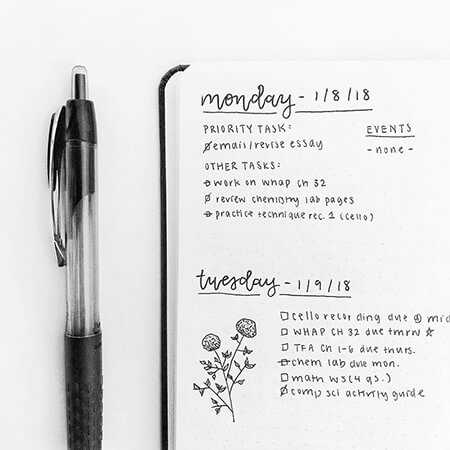
Daily Logs are the important part of the bullet journal. It keeps track of all your daily to-dos and tasks. You can start a new daily log each day to keep organized. On a blank page, write the date across the top of the page and the page number - this time you don't have to add it to the Index. Add your tasks of the day, events, any side notes. As you go through the day, you can mark items as complete. If you don't complete all your tasks, that's okay. You can use your symbols or signifiers to migrate to the next day or to another day.
Our Bujoer's Work
Testimonial
"The BuJo Guide has been so helpful for getting me started with journaling. I'm having so much fun!" - Aleina
"I have never been more organized in my life. Can't wait to share my work on here!" - Iris
It's so easy, it's like keeping a journal and organizing your life at the same time." - George
The BuJo Guide gave me the push I needed to get started with journaling." - Angelica

